Install iolys
iolys brings AI coding agents, cloud APIs, and local models into Visual Studio. Install the extension once, then connect the provider you want to use.
Before you start
You need:
- Visual Studio 2026 on 64-bit Windows, the environment described by the current iolys product documentation.
- An account with a supported provider, API credentials, or an Ollama instance with a model available.
- Internet access for downloading the extension and for cloud providers. Local model requirements depend on your Ollama setup.
- Git if you want to create parallel workspaces.
Your provider account and usage remain separate from the extension. A subscription, an API key, and a local model are different connection routes; choose the route that matches the access you already have.
Read Data and privacy for how provider requests, local session storage, and automatic iolys analytics work.
Install the extension
- Open the iolys Visual Studio Marketplace listing.
- Download the extension and follow the VSIX installer's prompts for your Visual Studio installation.
- Close Visual Studio if the installer requests it, complete installation, and restart Visual Studio.
- Open a solution.
- Select View > Iolys Chat.
On first launch, a welcome page opens in the Visual Studio document area. It introduces the workspace and links to provider setup and Chat. You can close it and continue working; it is separate from the chat toolbar tour.
The extension starts its companion local server. Allow startup to finish before configuring a model or sending a message.
Connect your first provider
From the initial chat screen, select Configure providers. You can return to setup through the chat's Settings > Manage Providers, or Manage Models in the model picker.
Choose one route:
| Route | What you configure |
|---|---|
| Coding-agent CLI | Install the supported CLI from iolys, then complete its sign-in flow. |
| Hosted API | Supply the credentials and endpoint required by the provider. |
| Ollama | Connect to your local or remote Ollama instance and select an available model. |
Follow the matching provider guide, then return to Chat and select a model. The available models and controls depend on the provider and your account.
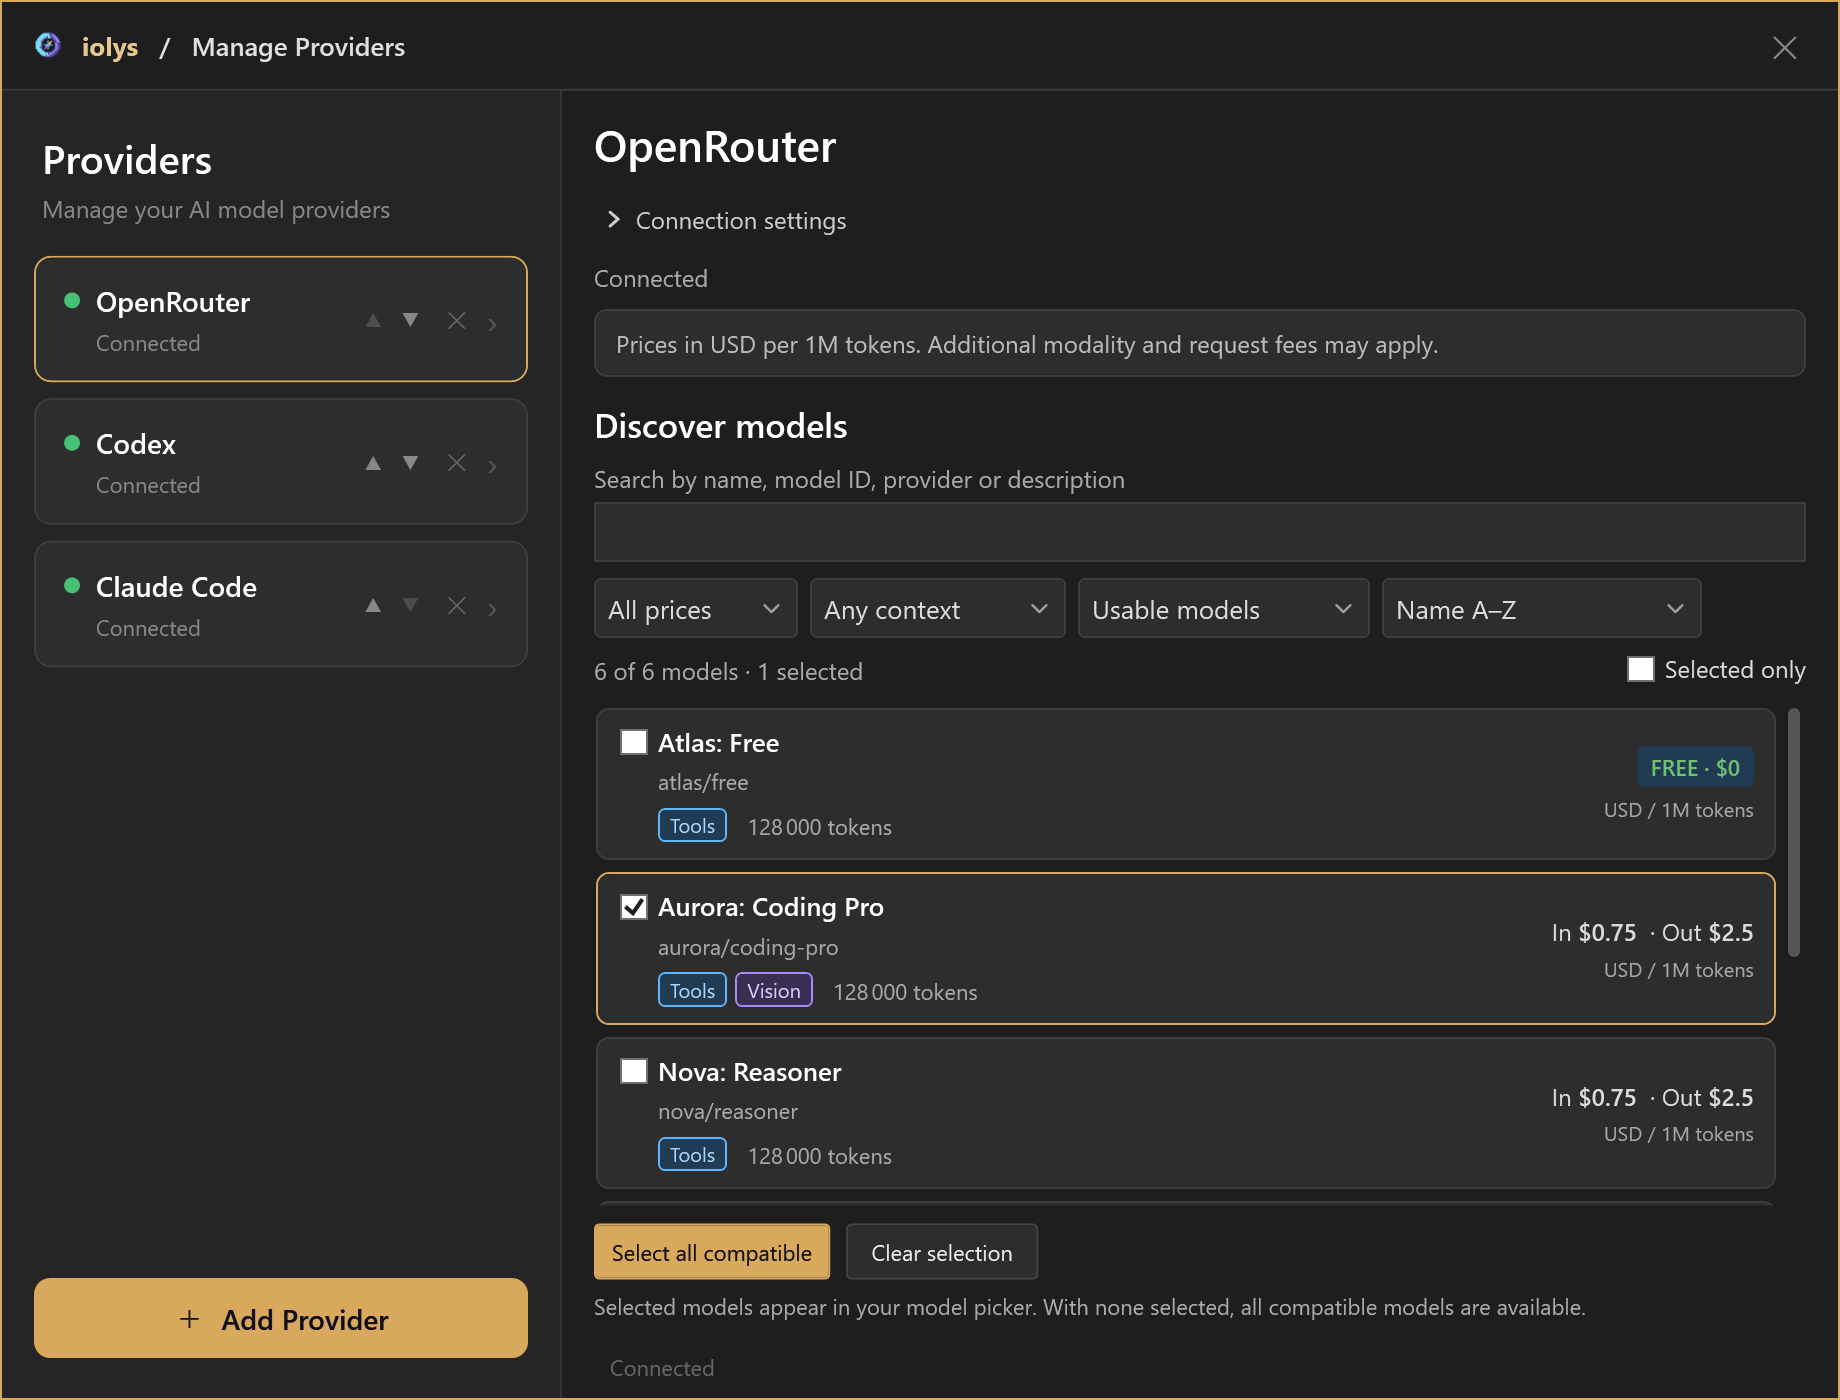
Manage Providers keeps your connections together. This OpenRouter example uses demonstration model names and prices; each provider has its own setup controls.
Verify the installation
Select Plan and send a small request such as:
Inspect the open solution and explain its main projects. Do not change files.
A streamed reply and visible inspection activity confirm that the conversation is working. Continue with your first task to attach context, implement a change, and review the result.
If Chat cannot connect, model discovery fails, or an Update required message appears, use Troubleshooting.